Using albums
Categories:
You can use albums in order to keep ordered lists of media files in your vault.
In this tutorial we will explain how to create and use them.
Albums list
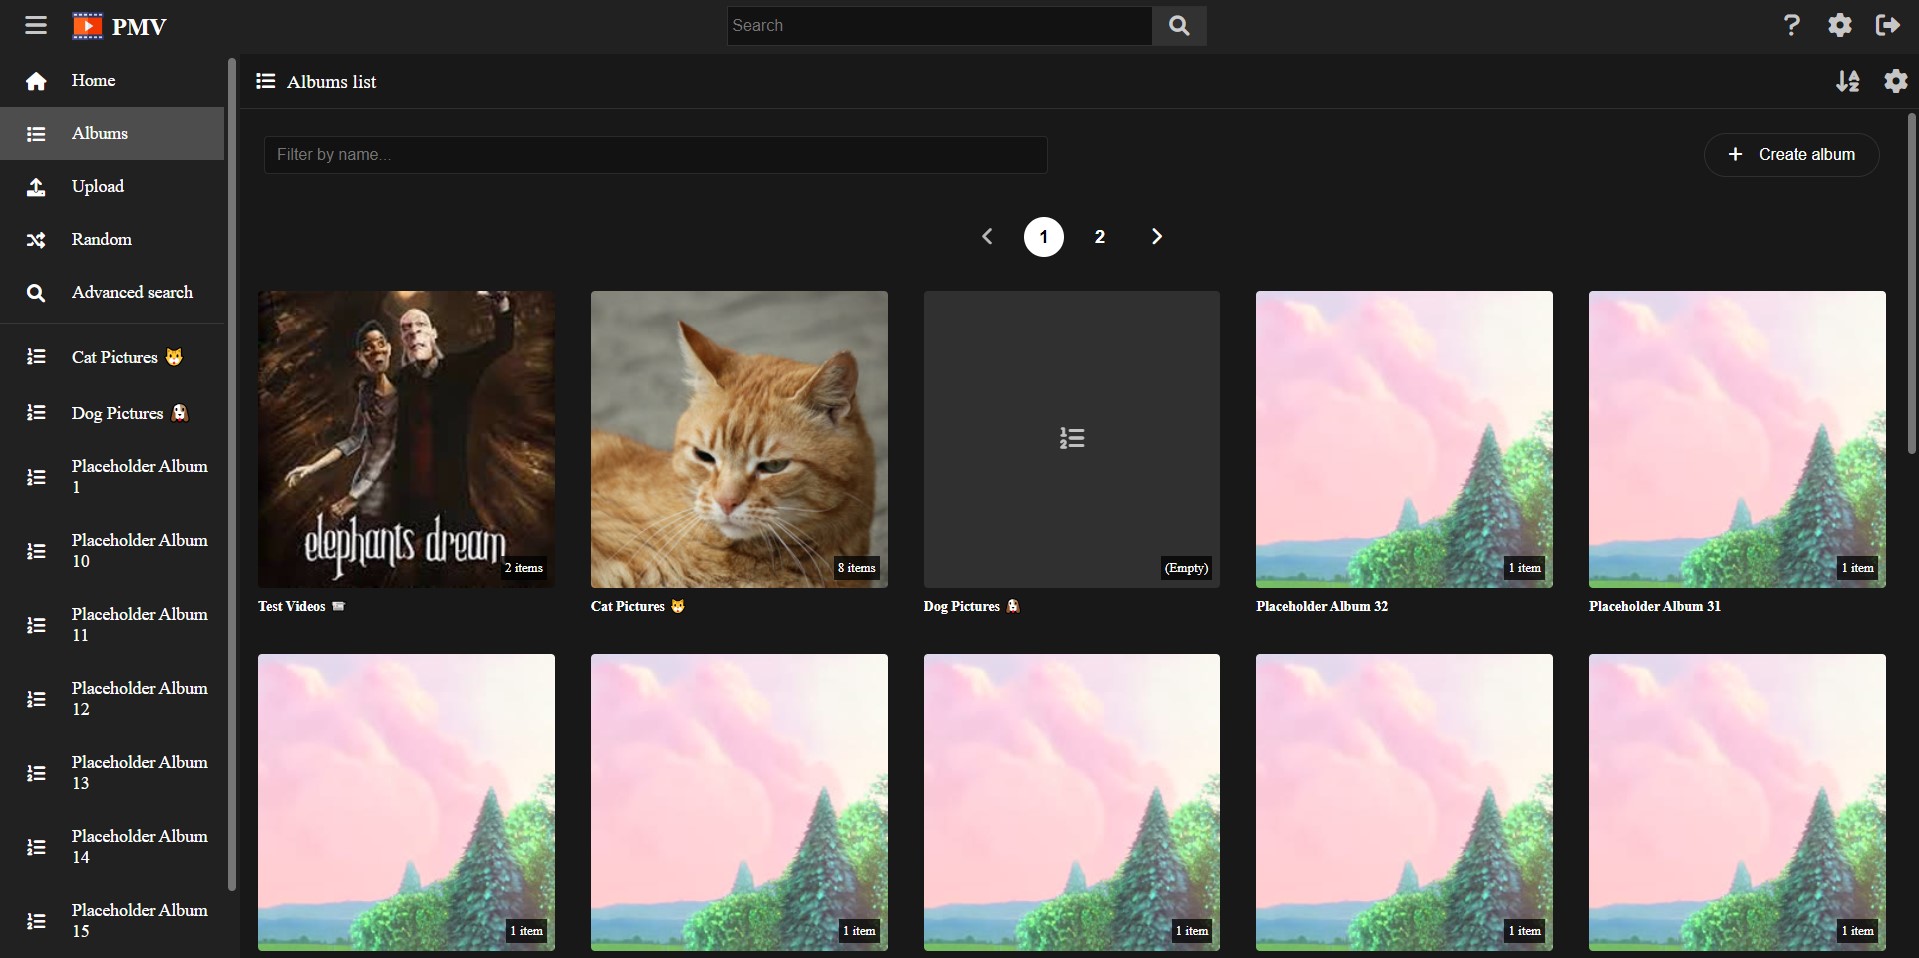
If you visit the Albums page, you will see the full list of albums existing in your vault.
You can filter by name, and also create new ones from this page.
Creating an album
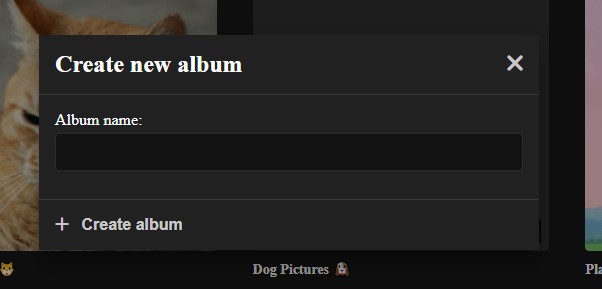
From the Albums page, click the Create album button in order to create a new album.
You must provide a name for the album and proceed.
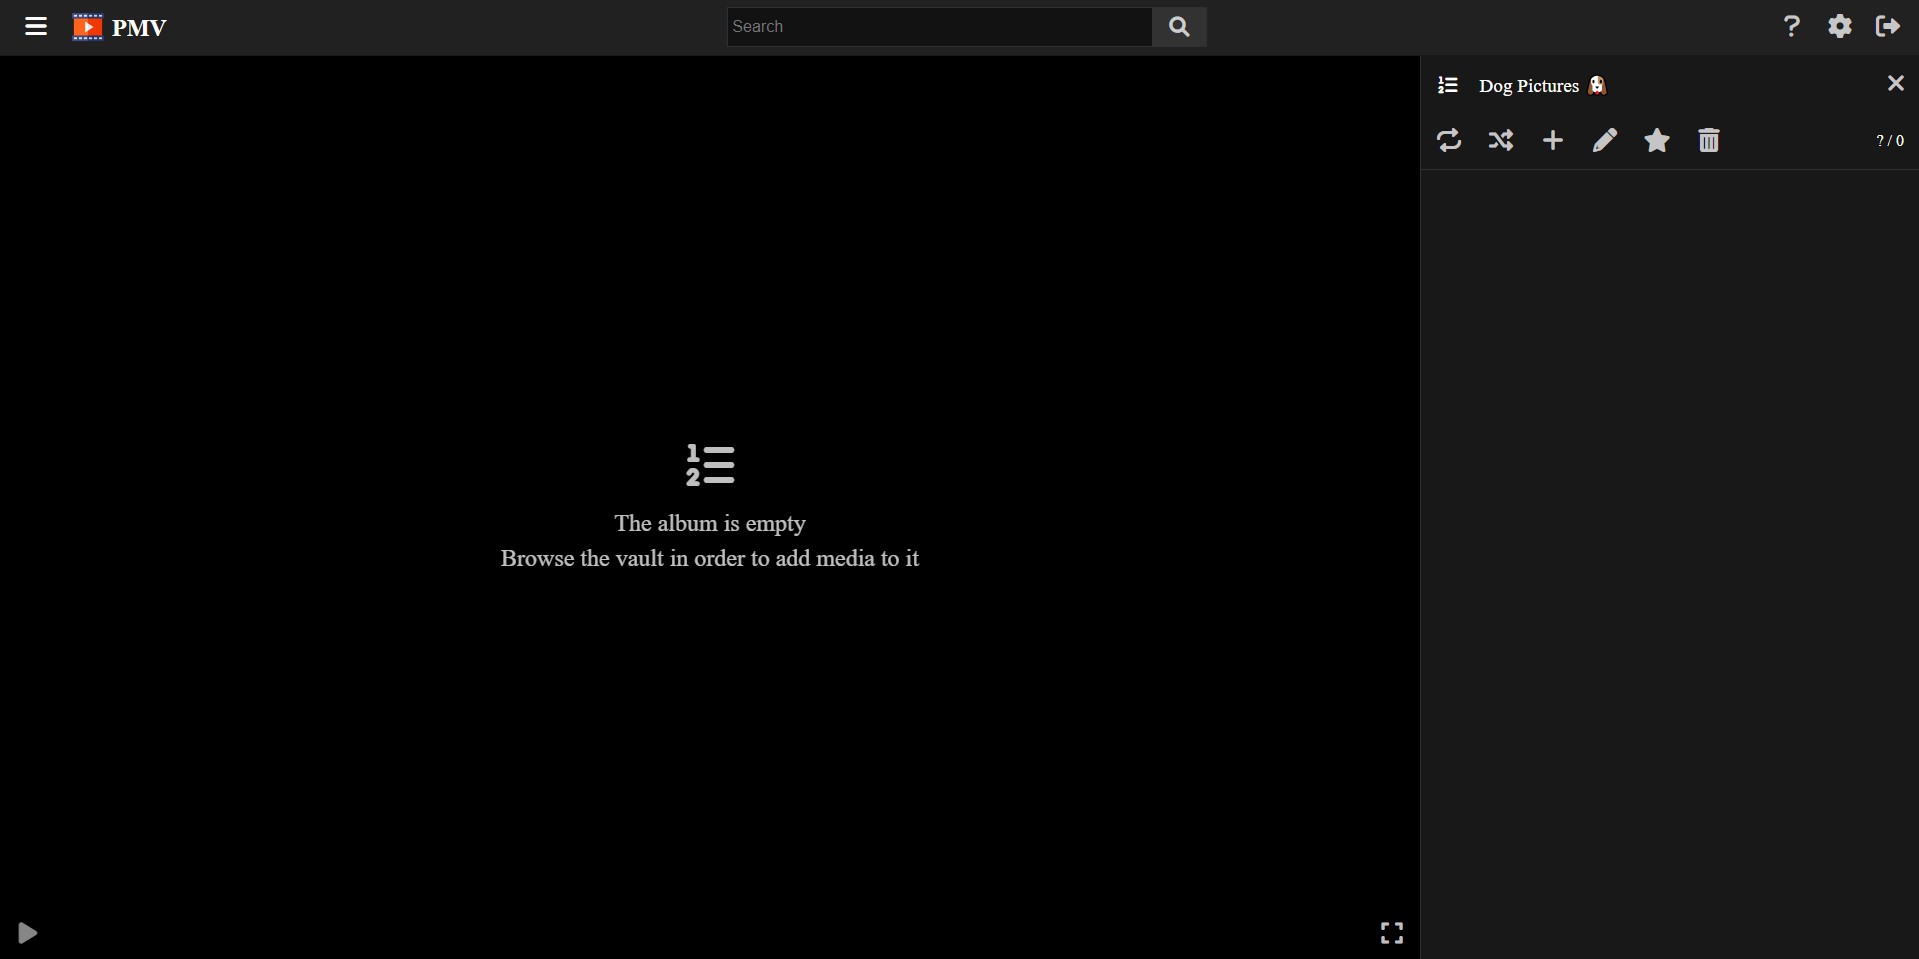
After the album is created, you will be redirected to it, being an empty album since it was just created.
Adding media to the album
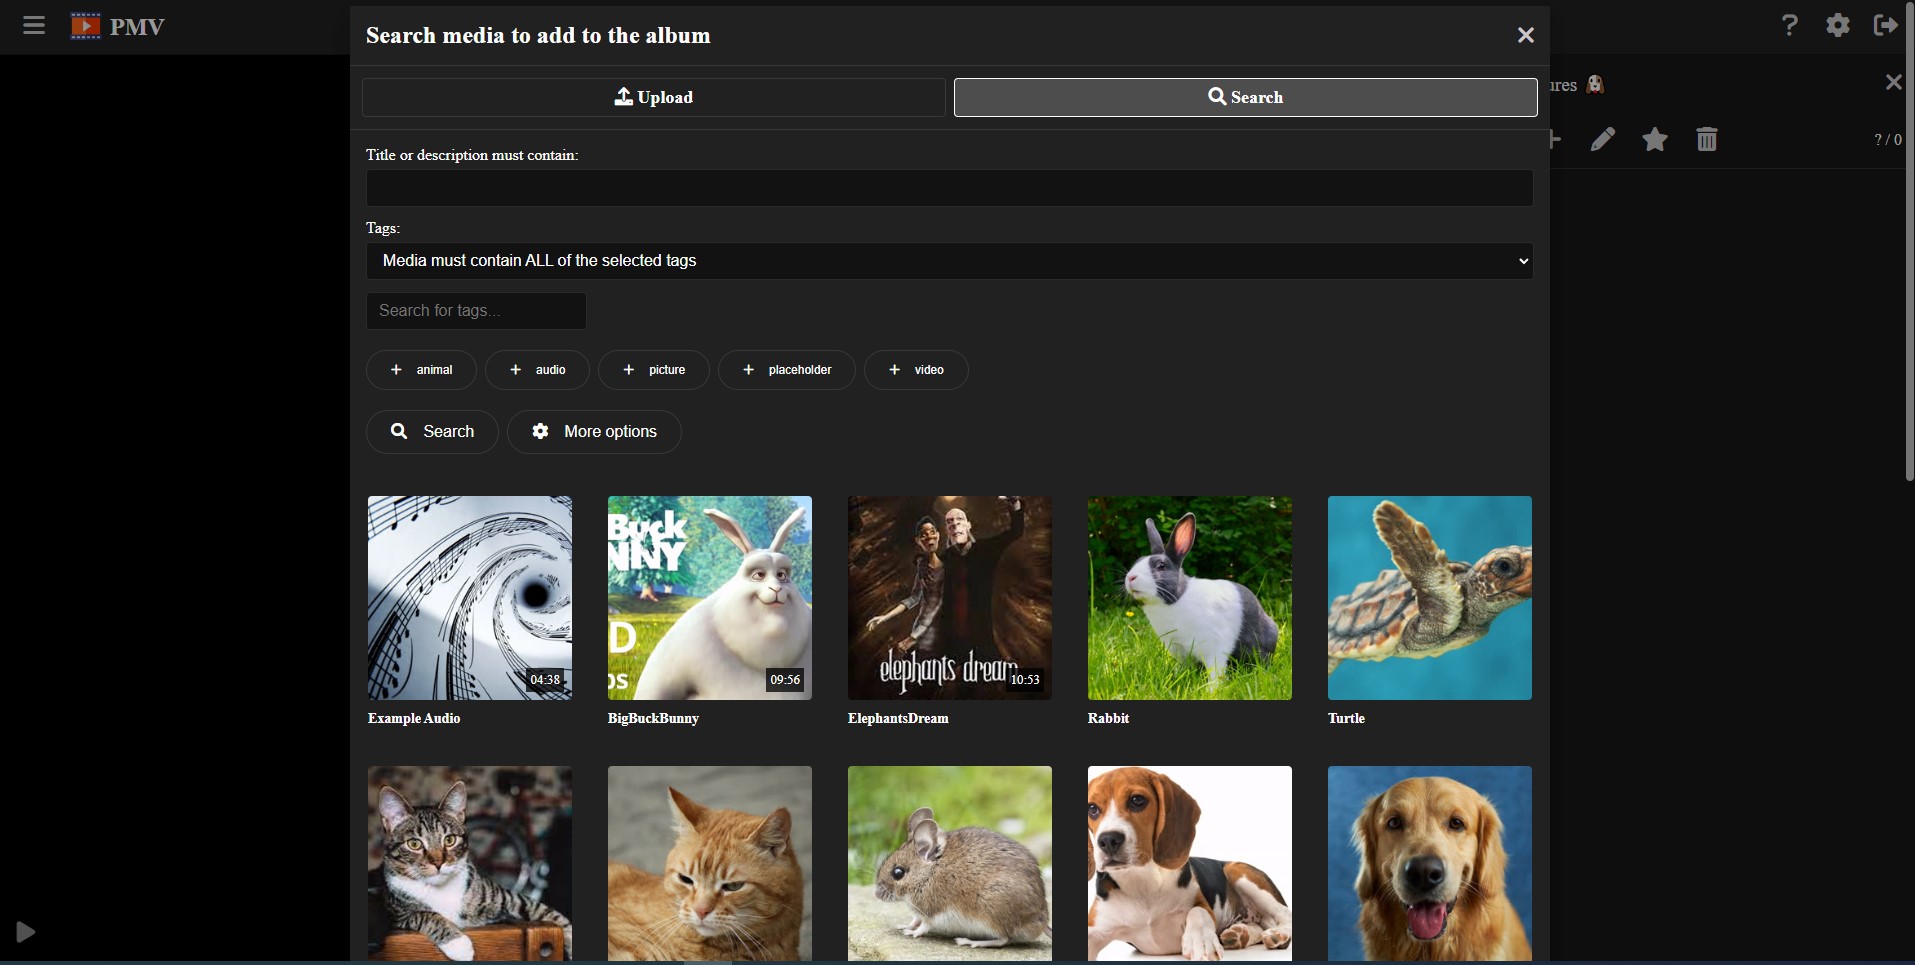
The first step after creating the album is adding the media files we want inside it.
In order to do this, you have two alternatives:
- Clicking the + button in the album options. This will open a modal where you can upload or search media files in order to add them to the album.
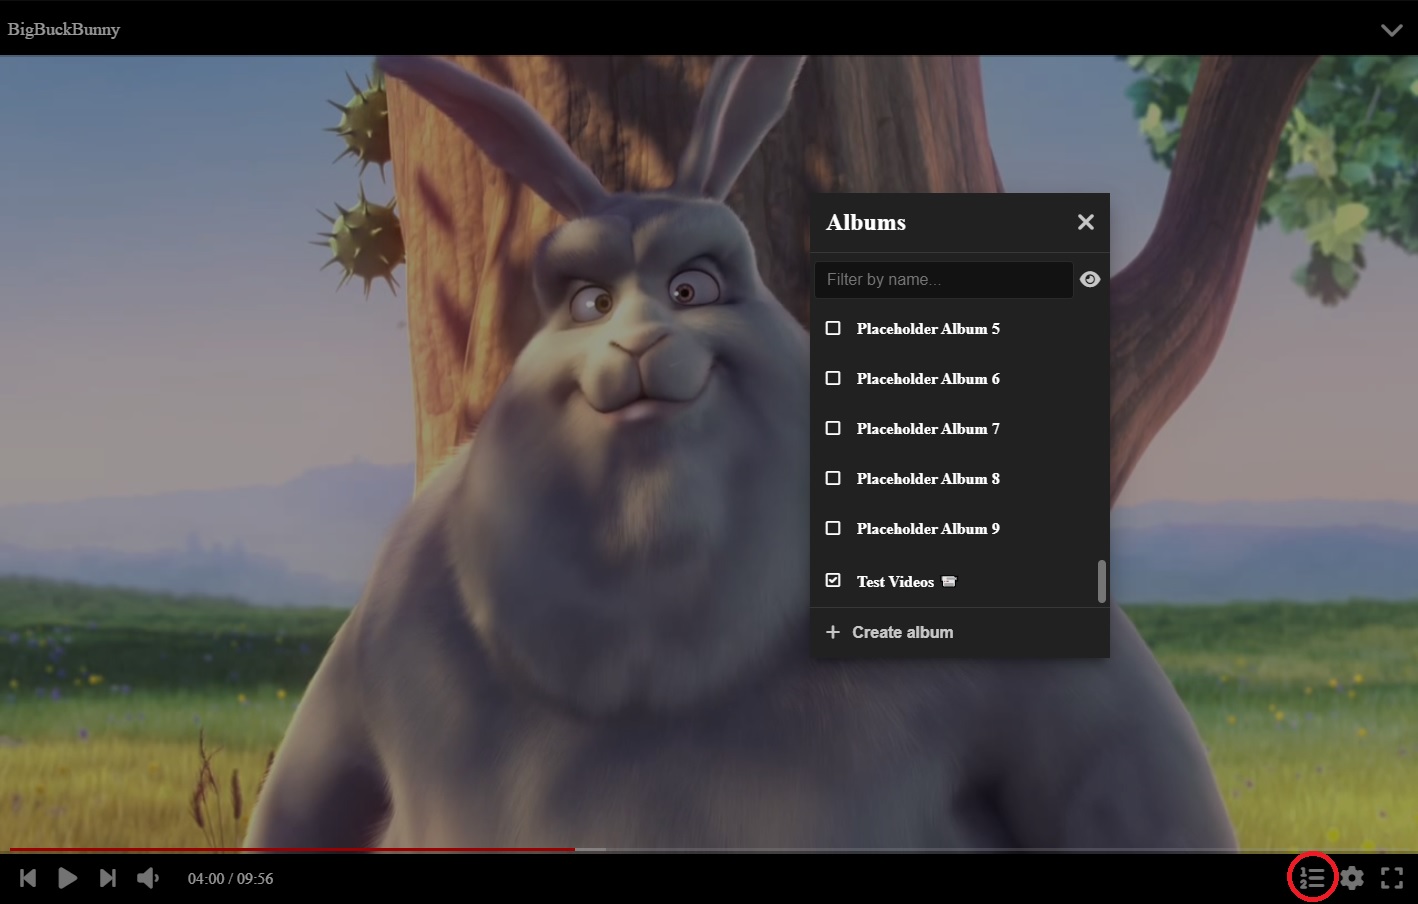
- If you are playing or viewing a media file, you can click the albums button, or press A, in order to open the albums list of the media, where you can add or remove the media from different albums.
Navigating
Once you have multiple media files inside an album, you can navigate using multiple methods:
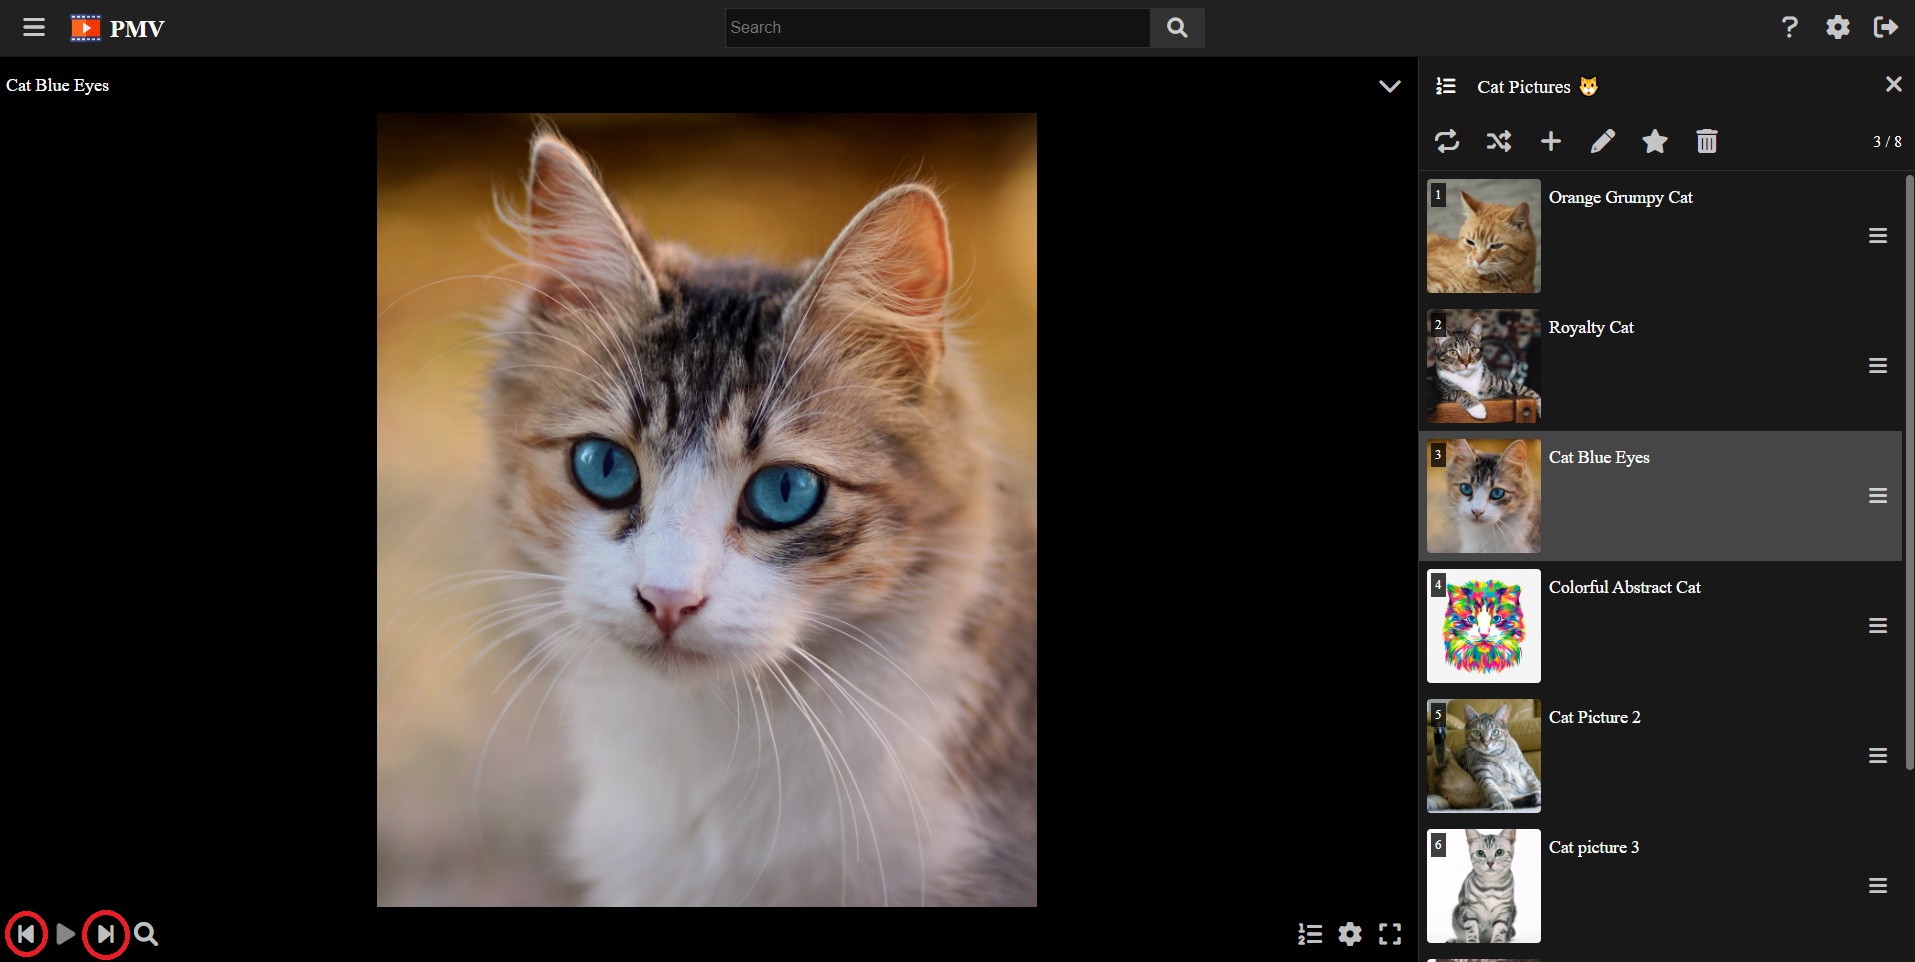
- Using the Previous and Next buttons of the player.
- Using the Left and Right arrow keys (in combination with Shift if the current media is a video or an audio).
- Using the Page Up and Page Down keys.
- By scrolling through the list and clicking the element you want to navigate to.
- By pressing the G key and specifying the position to navigate into.
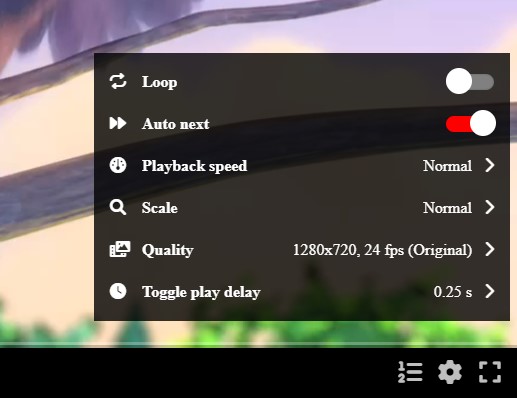
In the player configuration you can set the Auto next option, in order to automatically navigate to the next media when the video / audio ends or after a certain amount of time in the case of pictures.
You can set the Loop option for the album by clicking in the corresponding button in the album options. When enabled, the next media of the last element will be the first element, and the previous media of the first element will be the last element.

You can set the Random option for the album by clicking in the corresponding button in the album options. When enabled, the next media will be randomly chosen, and the previous media will be disabled.

Re-ordering and removing elements
By clicking in the Options button of a media file inside the vault, you will get a menu where you can change the position of the media file inside the album, and also delete it from the album.
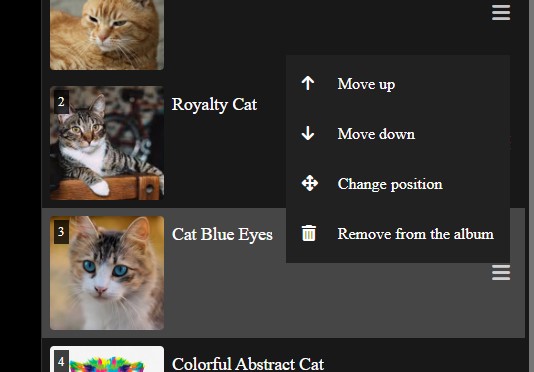
Also, if you are using a computer, you can drag and drop the elements in order to re-order them in a mode efficient way.
Favorites
You can add the album into favorites by clicking the star button in the album options.

If the album is in favorites, it will appear at the top of the menu sidebar, in order to easily access it.
Renaming
In order to rename the album, click in the pencil button in the album options.

Changing thumbnail
In order to change the thumbnail of an album, click the image button in the album options.

By default, the album will use as its thumbnail, the thumbnail of the first element.
Deleting
In order to delete the album, click in the trash button in the album options.

Note: Deleting the album will not delete any media file inside of it.